Steps for installing QuietWave
QuietWave membrane to be sandwiched between 2 layers of plasterboard
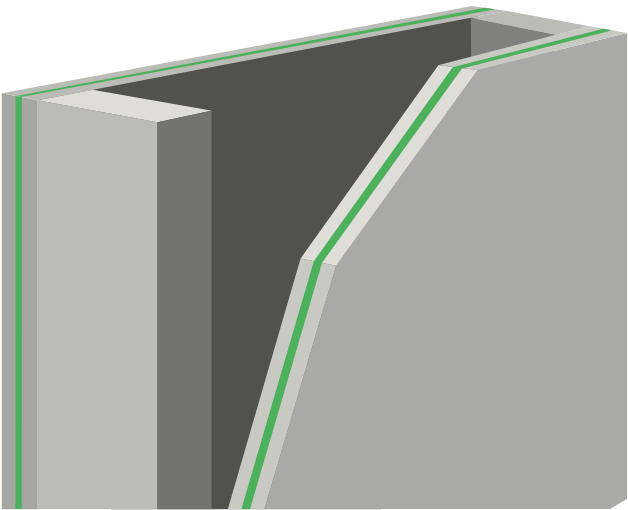
1. Stud and track installation
Install stud and tracks as per manufacturerʼs instructions.
2. First plasterboard layer
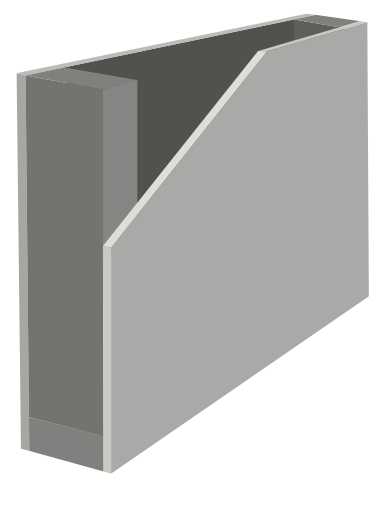
2.1 Put up first layer of plasterboard in a horizontal direction as per manufacturerʼs instructions.
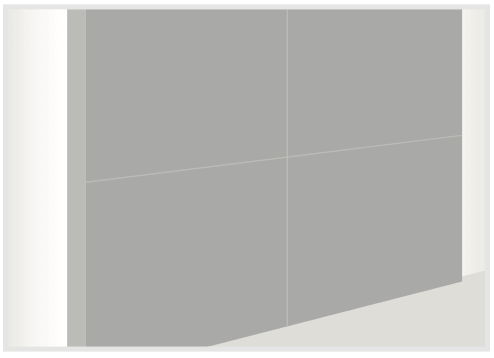
2.2 Seal the joints.
2.3 Cut the edges neatly leaving a maximum 2mm gap around the wall.
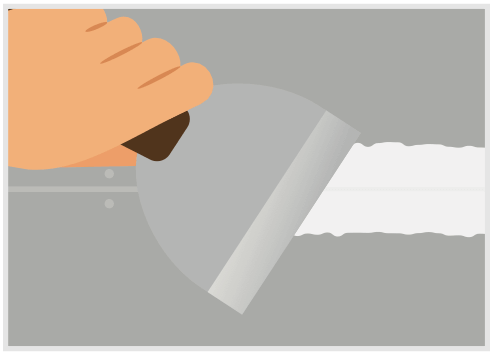
2.4 Seal edges with resilient sealant (Silicone or No More Gaps)

3. Second layer – QuietWave membrane
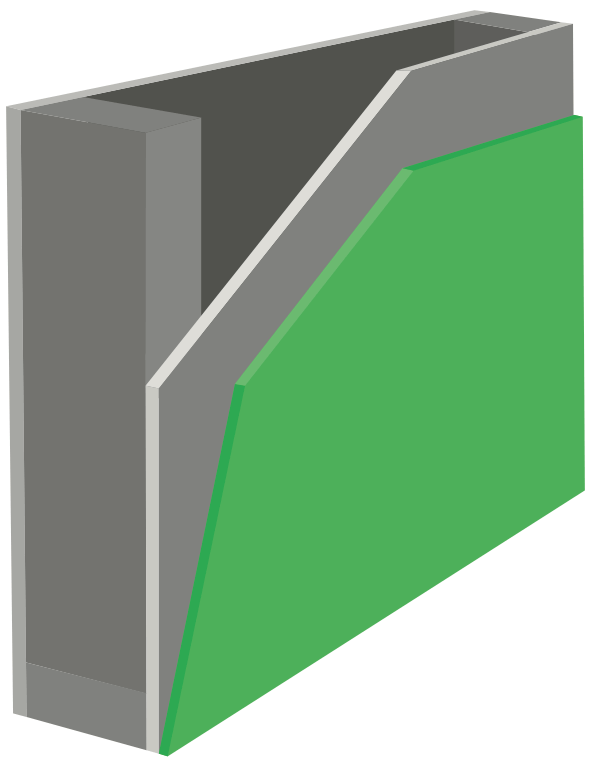
3.1 Unroll and cut QuietWave sheets to suit height of drop.
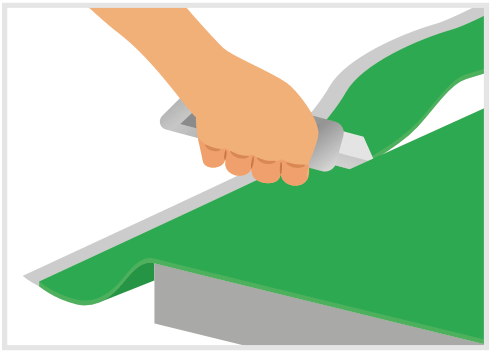
3.2 Attach the QuietWave sheets to the top of the first plasterboard layer – with nails, staples or screws.

3.3 Add next sheet along – No need to glue, butt together or tape together.
3.4 Sheets can come up to 5-10mm from the edge of a wall.
3.5 Ensure all openings for services are kept to a minimum i.e. small slit rather than opening.
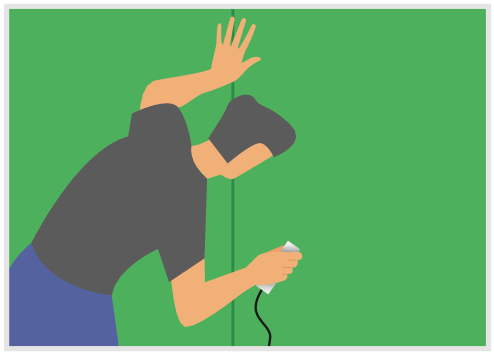

Similar logic for ceiling installation
For the second layer, the plasterer places the plasterboard sheet flat and horizontal on a panel lift. Then place the QuietWave membrane on top, covering the whole of the plaster board, no fixing necessary as it is flat and will not fall off. Gently lift all the way up to meet the first layer of plaster board installed. Screw fix as per manufacturers instruction.
4. Second layer of plasterboard

4.1 Put up the second layer of plasterboard in vertical direction as per manufacturerʼs instructions or ensure that the first layer of plasterboard joints do not coincide with the second layer joints.
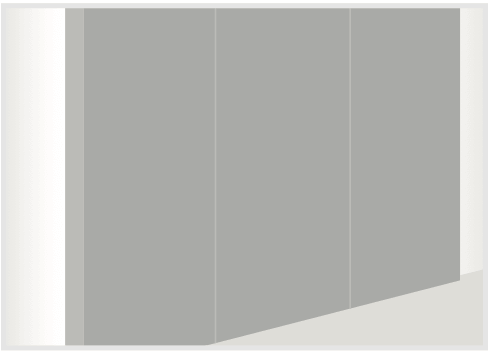
4.2 Seal the joints.
4.3 Cut the edges neatly leaving a maximum 2mm gap around the wall.
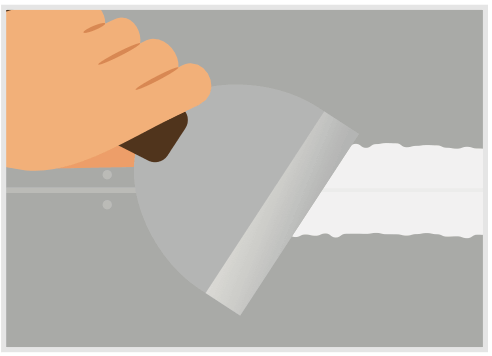
4.4 Seal edges with resilient sealant (Silicone or No More Gaps)
